Recipe by Dr. Sarah Lantz
In short, kombucha is a living beverage that is fermented using a blend of organic white, green and black tea (or blends), organic raw sugar (don’t worry, the microbes converts this sugar to healthy enzymes that benefit your body), and a Symbiotic Colony of Bacteria and Yeast (commonly called the SCOBY or Mother). The SCOBY feasts on the tea and sugar converting it into health giving organic acids and enzymes creating an effervescent, low-sugar and low-caffeine beverage with a slight tang. It’s packed with vitality and goodness and tastes great too.
Ingredients
(Makes a 4-litre Brew)
280g certified organic raw sugar/coconut sugar/rapadura (your sugar must be fermentable)
28g certified organic tea (black, white, rooibos, green tea or blends of herbals)
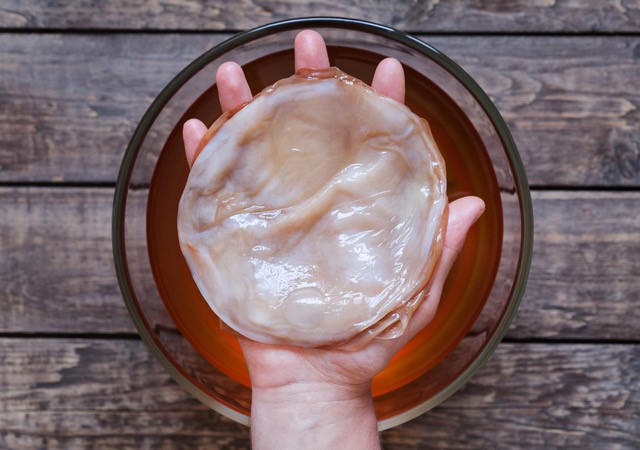
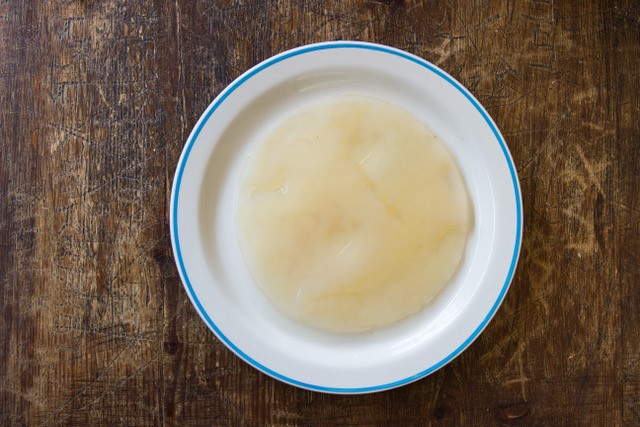
Kombucha Starter Culture “ SCOBY (Symbiotic Culture of Bacteria and Yeast)
400ml starter liquid (Kombucha Tea) (Or about 10-20% of the brewing vessel)
Spring/purified/filtered water (chlorine/fluoride free)
Method
Gently bring 1 litre of water to the boil adding sugar as you go (ensuring to stir sugar constantly until dissolved to prevent it from burning).
When all the sugar has dissolved add the tea bags of your choice (or loose tea) and let steep for at least 10-20 minutes, then remove tea bags and set the sweet tea aside to cool to room temperature.
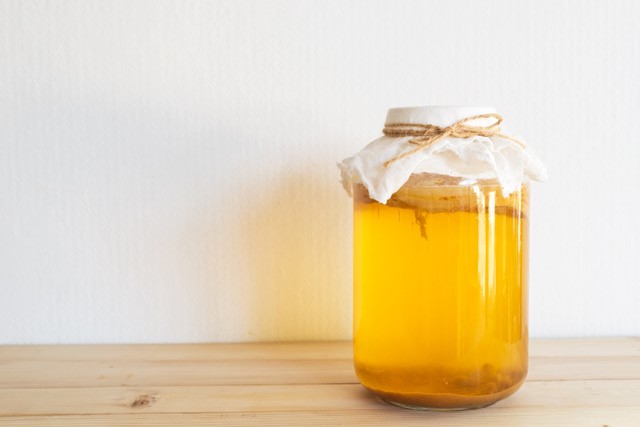
When the sweet tea is cool, add to the brew vessel, followed by the kombucha starter liquid and the SCOBY. Then fill the rest of the vessel most of the way with spring/purified/filtered water, leaving just 1-2 inches from the top for breathing room. Cover with cloth cover and secure with the cord or rubber band. Set in a warm location out of direct sunlight.
Ideally you would set your brew aside for around 7-10 days without disturbing, but I understand how completely amazing the ferment process is, so it’s perfectly acceptable to peek under the cloth from time to time to watch your SCOBY grow and materialise, as long as you don’t let any foreign contaminants (bugs, dust, fingers) into the vessel.
For the first seven days or so, you might think it’s all going terribly wrong: ‘Should my kombucha really look like this?’, but don’t panic, be patient and at around the week mark, your kombucha should have a new thin translucent SCOBY covering the surface and be giving off a sweet fermentation aroma.

After 7 days, or when you are ready to test the taste of your kombucha, gently insert a straw beneath the SCOBY, place your finger over one end and pull out. Place the other end in your mouth and then release your finger. The taste should be semi-sweet with a fermented kick. If too tart, then reduce your brewing cycle next time. If too sweet, allow to brew for a few more days. Continue to taste every day or so until you reach your optimum flavour preference.
When ready, bottle and store. Be sure to leave 10% – 15% of the tea in the jar with the SCOBY – you’ll need to use this for your next brew. Drink as desired. Start off with a medium glass on an empty stomach in the morning, then with meals to help with digestion, or as your body tells you it would like some more!
For your second brew, do exactly the same as the first brew. Make sure you keep at least 10% – 15% of your original brew in the jar and just start again. If you are wanting to expand your brewing, simply split or cut your SCOBY (make sure you tell her what you are doing and that she (and her babies) will continue to grow – just to be polite).

*NB: Although we have provided some guidelines on the length of time for fermentation to occur, it may be longer or shorter depending on the weather or where you position your brew. The warmer the weather – the quicker the ferment will be. In winter your brew process will slow down.
Article by:
Dr Sarah Lantz (PhD)
Buchi Brew Co. & Sacred Women’s Way


